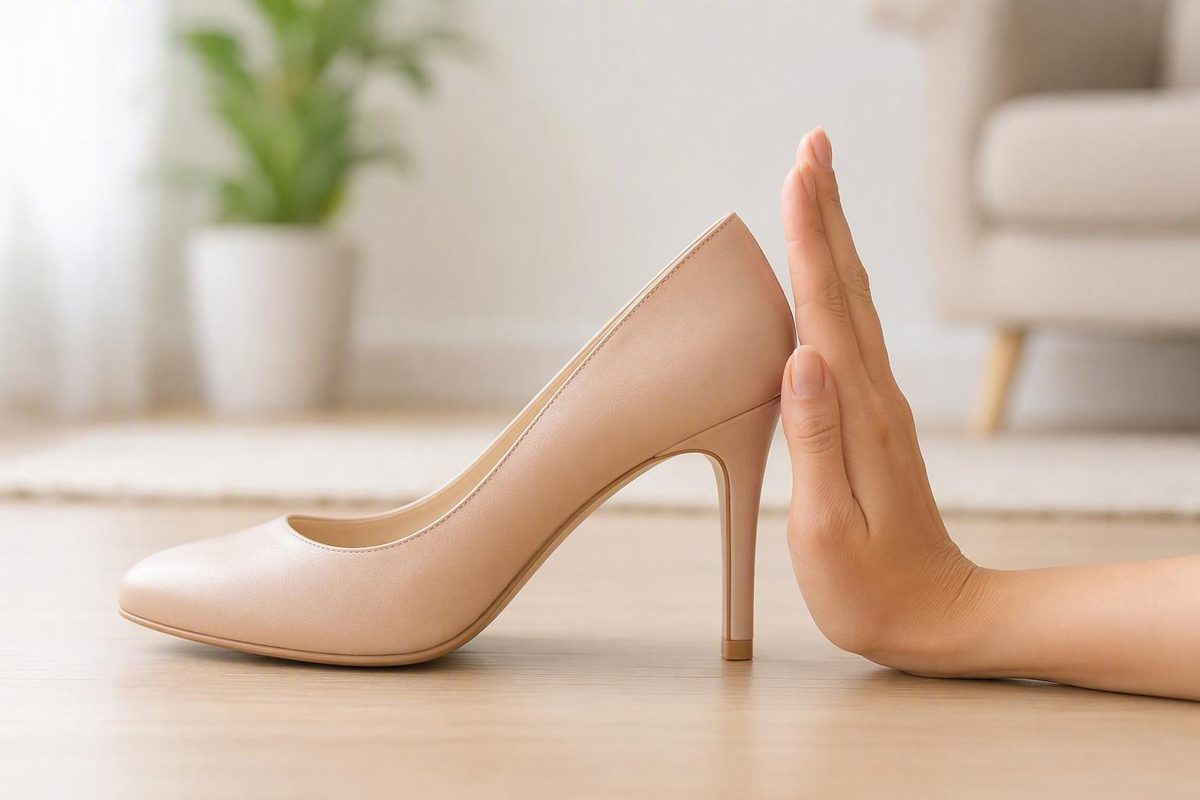
How do you measure heel height: A Practical Guide
To measure heel height, place the unworn shoe upright on a hard, level surface. Hold a rigid ruler vertically beside the heel and measure from the surface…
To measure heel height, place the unworn shoe upright on a hard, level surface. Hold a rigid ruler vertically beside the heel and measure from the surface beneath the heel to the heel seat—the point where the heel meets the main body of the shoe. Record where you measured and whether you included the heel tip, outsole, or platform, because retailers and manufacturers do not always use the same convention.
What how do you measure heel height means
“Heel height” usually means the vertical distance between the bottom of a shoe’s heel and the point where that heel joins or supports the shoe. It is not the length of the heel measured along a slope.
That distinction matters with angled heels, wedges, and sculpted designs. Following the heel’s diagonal edge can produce a larger number than measuring straight up from the floor. A vertical measurement is generally easier to reproduce and compare.
Several related measurements can be confused with heel height:
- Total heel height: The floor-to-heel-seat measurement at the rear of the shoe.
- Platform height: The thickness beneath the front of the foot.
- Approximate effective rise: Total heel height minus the forefoot platform height.
- Heel-to-toe drop: The difference between the elevation beneath the heel and beneath the forefoot. This concerns the internal or structural height difference, not merely the visible heel.
For example, a platform shoe might have a total heel height of 4 inches and a forefoot platform of 1 inch. Its approximate effective rise would be 3 inches. This subtraction is useful for simple designs, but it becomes less precise when the sole is curved or changes thickness substantially.
How how do you measure heel height works
A useful measurement depends on three clearly defined elements: the shoe’s position, the measurement line, and the endpoints.
First, position the shoe as it would normally rest on the ground. Do not hold it in your hand or measure it while someone is wearing it. An unworn shoe on a stable surface is less likely to tilt or shift during measurement.
Next, keep the ruler vertical. A small carpenter’s square, a stiff ruler, or a tape measure held against a straight vertical guide can help. Flexible measuring tape alone can bend around the heel and accidentally follow its slope.
Use the floor as the lower endpoint. The upper endpoint is the heel seat, where the heel meets the shoe’s body. On a standard pump, this point is usually visible at the back. On a boot or concealed heel, you may have to identify the level at which the heel supports the rear of the shoe.
Finally, note the convention you used. A record such as “3 inches, floor to rear heel seat, heel tip included” is more informative than “3-inch heel” alone.
Measure to the nearest practical division on your ruler rather than implying unrealistic precision. If the heel seat is curved, record a sensible midpoint or specify that you measured at the back edge.
The main approaches
There is no single measurement approach that works equally well for every shoe shape. Choose a method suited to the design and use the same method when comparing pairs.
| Shoe type | Where to measure | What to record |
|---|---|---|
| Pump or sandal | Vertically beside the rear heel | Floor to heel seat |
| Boot | At the rear supporting point | Whether the outsole is included |
| Wedge | Vertically beneath the rear of the wedge | Do not follow the slope |
| Platform shoe | Heel and forefoot separately | Total height and platform height |
For a conventional pump, the simplest approach is to measure from the floor beside the heel tip to the heel seat at the back of the shoe.
For a boot, the heel may blend into the outsole. Measure from the floor to the point where the supporting heel structure meets the boot, then state whether the outsole layer is part of the measurement.
For a wedge, measure vertically from the floor beneath the rear of the wedge to the rear heel seat. Measuring along the diagonal surface describes the wedge’s sloping length, not its vertical height.
For a platform shoe, take two measurements. Measure total heel height at the rear and platform thickness beneath the forefoot. Keep both figures rather than reporting only the difference, particularly when the platform is curved.
Sculpted, recessed, or partly concealed heels require judgment. Choose a repeatable vertical line through the rear supporting area, photograph or note that location, and use it for every comparison.
A practical process
Gather the shoe, a rigid ruler with fine markings, a flat surface, and something for recording the result. Then follow these steps:
- Check the shoe’s condition. Remove anything stuck to the sole and notice whether the heel tip is worn unevenly.
- Set the shoe upright. Place it on a hard, level surface in its natural standing position.
- Find the heel seat. Identify where the heel joins the shoe or supports the rear of the foot.
- Position the ruler vertically. Put its zero point on the surface beside the heel, not on top of the outsole.
- Read the height. Look straight across at the heel-seat endpoint to reduce viewing-angle error.
- Measure again. Reposition the ruler and repeat the reading. If the results differ, check whether the shoe is rocking or the ruler is leaning.
- Measure the platform if present. Take a separate vertical measurement beneath the forefoot.
- Document the method. Include the shoe size, measurement location, included components, and condition of the heel.
A concise record might look like this:
Size 7; rear vertical measurement; 3¼-inch total heel; heel tip included; no forefoot platform; lightly worn.
When comparing shoes, measure the same size whenever possible. A retailer’s listed height may not exactly match your result if a different size or measurement point was used.
Common mistakes and tradeoffs
The most frequent error is measuring along the heel’s slope. Heel height is a vertical distance, so the ruler should remain perpendicular to the floor.
Another mistake is beginning at the bottom of the shoe’s upper rather than at floor level. This can exclude the heel tip or part of the outsole without making that omission clear. Neither convention is automatically useless, but mixing conventions makes comparisons unreliable.
Other problems include:
- Measuring the shoe while it is being worn.
- Letting a flexible tape curve around the heel.
- Measuring on carpet or an uneven floor.
- Treating platform height as part of the effective rise without identifying it.
- Comparing different shoe sizes as though heel dimensions must be identical.
- Ignoring wear on the heel tip.
- Rounding two close but different readings in opposite directions.
There is also a tradeoff between simplicity and completeness. One total-height figure is convenient for a basic pump. For a platform, wedge, or heavily sculpted shoe, separate heel and forefoot measurements provide a more meaningful description.
Home measurements and product listings can differ without either being obviously wrong. The listed figure may refer to another size, exclude a replaceable heel cap, or use a different endpoint. Before returning or disputing a product, check how the seller defines heel height and compare that definition with your method.
How to choose the next step
Choose your next step according to why you need the measurement.
If you are checking a product listing, measure the shoe using the seller’s stated convention where one is provided. If no convention is given, use the vertical floor-to-heel-seat method and ask the seller where its published measurement begins and ends.
If you are comparing several shoes, consistency matters more than choosing a supposedly universal rule. Use the same ruler, surface, shoe size, endpoints, and treatment of heel tips or outsoles for every pair.
If you want to understand a platform shoe, record total heel height and forefoot platform height separately. You can subtract the second from the first for an approximate effective rise, but retain the original measurements because curved soles can make the subtraction an imperfect description.
If you are replacing a worn heel or matching a shoe component, a home measurement may not capture all the dimensions needed for repair. Take the shoe itself to a qualified repair professional rather than relying only on the visible heel height.
The most practical next step is simple: place the shoe on a hard floor, take one vertical floor-to-heel-seat measurement, repeat it, and write down the exact endpoints you used.
What should a beginner know about how do you measure heel height?
A beginner should know that heel height is measured vertically, not along the heel’s angle. Place the shoe upright on a flat surface and measure from the floor beside the heel to the heel seat.
Use a rigid ruler if possible, repeat the measurement, and note whether the heel tip and outsole were included. For a platform shoe, measure the forefoot platform separately instead of assuming the visible heel tells the whole story.
What are the main risks of how do you measure heel height?
The principal risks are measurement errors and misleading comparisons. A tilted ruler, soft surface, worn heel tip, unclear endpoint, or measurement taken along a slope can change the result.
Another risk is comparing your number with a retailer’s specification without checking whether both measurements use the same shoe size and convention. Prevent this by recording the size, location, endpoints, and included components each time.
How do you evaluate how do you measure heel height options?
Evaluate a method by asking whether it is vertical, repeatable, and clearly documented. The best general-purpose option is the floor-to-heel-seat method with the shoe standing naturally on a level surface.
For wedges, platforms, and concealed heels, adapt the location without changing the basic principle: measure vertical elevation and identify the endpoints. If two methods give different results, use the one that best matches your purpose—and state the convention so the number can be understood and reproduced.